Beginner Photographers’ Mistakes: What They Are and How to Avoid Them
When you’re starting out in the world of photography, it’s normal to make mistakes. Learning to handle the camera, control the light, find good compositions and develop your own style takes time, practice and, above all, lots of photographs. The important thing is to be able to identify these mistakes so you can learn from them and keep improving.
Some of the mistakes made by beginner photographers are technical in nature, whilst others relate to equipment, composition, editing or the way you learn. And when you decide to make the leap to professional photography, new challenges arise concerning clients, pricing and business management.
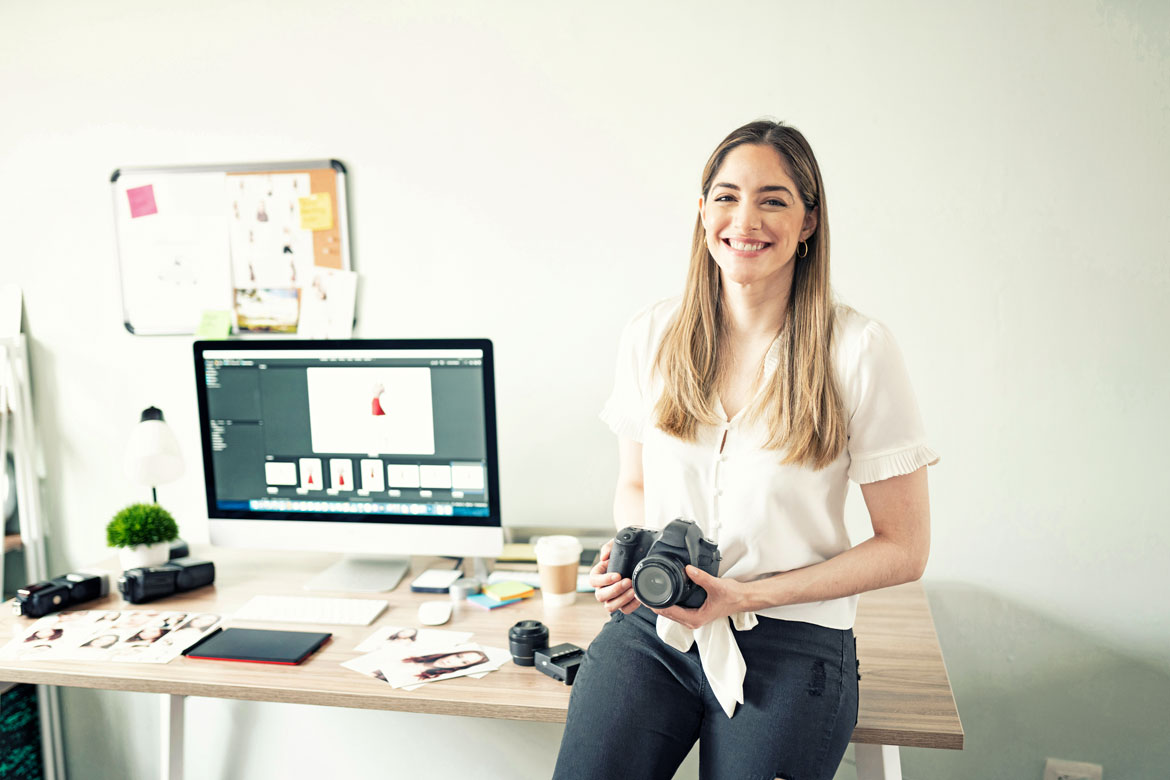
Every photograph that doesn’t turn out as you expected can become an opportunity to learn something new.
What are the most common mistakes made by beginner photographers?
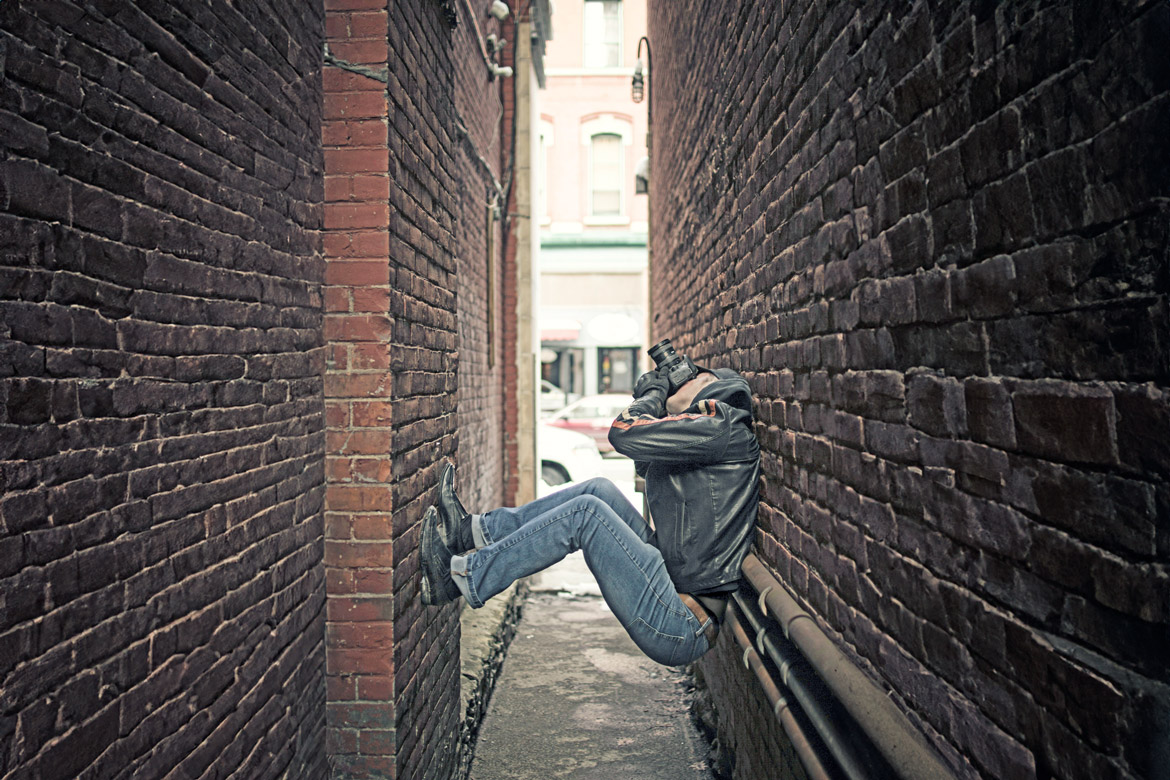
Mistakes when starting out in photography aren’t limited to using certain camera settings incorrectly. Whilst mastering concepts such as aperture, shutter speed and ISO is essential, there are many other aspects that can influence your development as a photographer.
It’s common, for example, to worry too much about having the best kit, to shoot without stopping to think about composition, to over-edit images, or to practise continuously without analysing the results afterwards. These are normal mistakes during the learning process, but identifying them early on can help you progress much faster.
We must also distinguish between the mistakes typical of someone learning photography and those that arise when you decide to start offering your services. At that point, you’ll need to learn how to create a portfolio, set prices, manage clients, use contracts and handle your bookings properly.
Below, we’ll analyse all these photography mistakes, grouping them by area so you can easily identify which ones you’re making and how to fix them.
Technical mistakes to avoid when starting out in photography
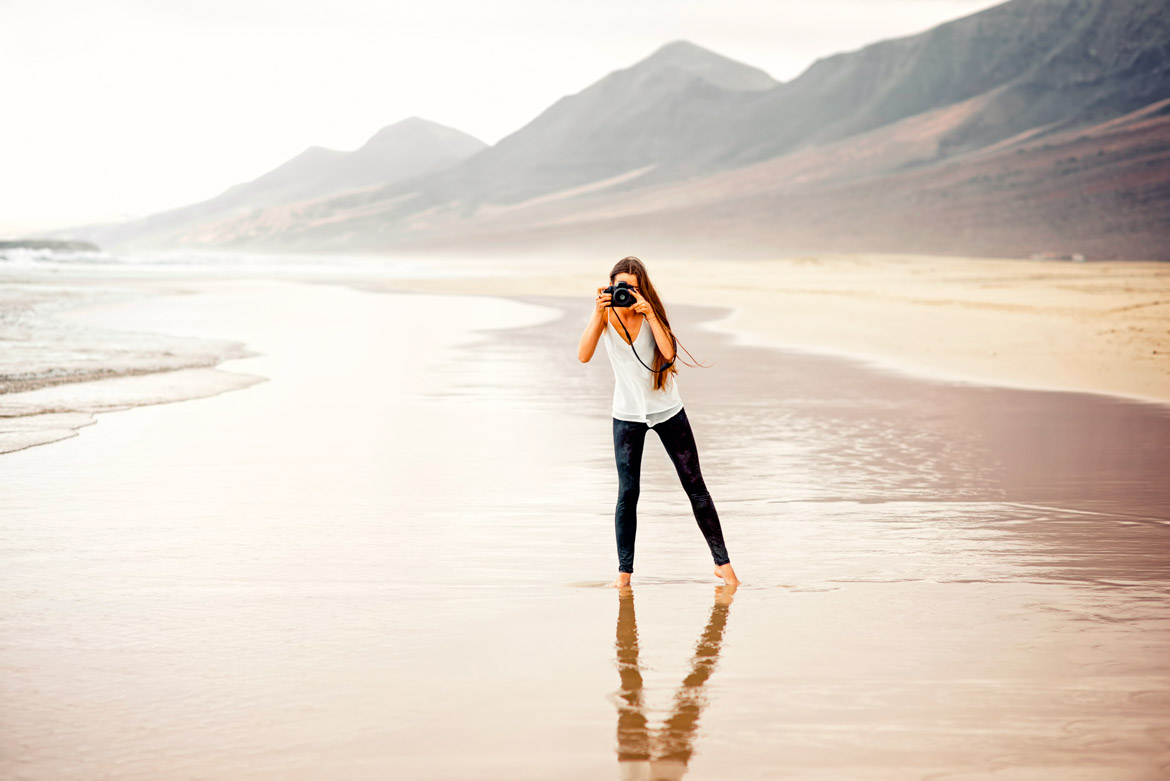
Mastering the technique doesn’t mean knowing every camera function off by heart. What really matters is understanding what happens when you adjust certain settings and how those decisions affect the outcome of your photographs.
The automatic settings on modern cameras can handle many situations correctly, but if you want to keep improving, you’ll need to gradually learn to make your own decisions. Understanding how exposure, focus and different file formats work will allow you to adapt to a wide range of lighting conditions and, above all, to use the technique to achieve the creative result you’re looking for.
Here are some of the most common technical mistakes made by beginners in photography.
Always using automatic mode
Automatic mode can be very useful when you’re first starting out with a camera because it allows you to concentrate on framing the shot whilst the camera decides on most of the settings. The problem arises when months go by and you’re still relying entirely on this system.
In automatic mode, the camera decides on settings such as aperture, shutter speed and ISO. It can achieve the correct exposure, but it doesn’t know whether you want to blur the background of a portrait, freeze the movement of a sportsman or capture the silky effect of water in a landscape.
Nor do you need to switch straight to manual mode. Semi-automatic modes are an excellent way to learn gradually. With aperture priority, you can experiment with depth of field, whilst with shutter priority, you’ll discover how to capture movement.
Take several photographs of the same scene, changing just one of these settings each time, and compare the results. This simple exercise will help you understand exactly what your camera is doing.
Not fully understanding the exposure triangle
Aperture, shutter speed and ISO form the well-known exposure triangle. Understanding how these three elements relate to one another is one of the most important things you can learn when you’re starting out in photography.
Aperture determines how much light enters through the lens and also influences depth of field. Shutter speed controls how long light reaches the sensor and allows you to freeze or capture movement. ISO helps achieve the necessary brightness, although using high sensitivities can increase image noise.
The interesting thing is that these settings do not work independently. If you change one, you’ll usually need to adjust another to maintain a specific exposure.
So, rather than memorising values, practise in real-life situations. Photograph a person walking, a landscape or a nearby object using different combinations. Understanding the exposure triangle will allow you to stop relying on automatic settings and start using your camera as a truly creative tool.
Using an ISO that’s too high when it’s not necessary
Increasing the ISO is a very useful solution when working in low light or when you need to use a faster shutter speed. However, one of the common mistakes when you’re starting out is to increase this value without first checking whether it’s actually necessary.
The higher you set the ISO, the more digital noise may appear and the lower the level of detail in the image. This doesn’t mean you should always stick to the minimum setting. Modern cameras deliver very good results at relatively high sensitivities and, in many situations, it’s better to have a slightly noisy but perfectly focused photograph than a clean but blurred image.
Before increasing the ISO too much, analyse the scene. Perhaps you can use a wider aperture, reduce the shutter speed slightly, mount the camera on a tripod or improve the available lighting.
It’s also important to know your camera’s actual limits. Experiment with different ISO settings and see up to what ISO level you consider the resulting image quality to be acceptable.
Not paying attention to focus and sharpness
A photograph may have fantastic lighting and a carefully composed shot, but if the main subject is out of focus, you’ll probably end up discarding it. That’s why learning to control focus should be one of your first steps as a photographer.
Modern cameras have different focus modes and focus areas designed for specific situations. You won’t use the same settings to take a portrait of a stationary person as you would to photograph a running child, an animal or a sports match.
Learn, too, to make a conscious choice about where you want to place the focus. In a portrait, for example, the eyes are usually the main point of interest.
Furthermore, not all sharpness issues are down to focus. A shutter speed that is too slow can cause camera shake or subject movement. Check your photos regularly by zooming in on the screen and analysing what the problem was. Finding out whether the fault lies with the focus, movement or even a depth of field that is too shallow will allow you to correct it much more easily.
Always shoot in JPEG
JPEG is a convenient format; it takes up relatively little space and produces images you can use almost immediately. However, when the camera creates a JPEG, it processes the photograph and discards some of the information captured by the sensor.
The RAW format retains much more of the original data. This provides greater flexibility during editing, especially when you need to recover detail in highlights and shadows, adjust the white balance or make more precise adjustments.
For this reason, if you’re learning photography and want to familiarise yourself with editing as well, working with RAW can be particularly beneficial. That sa, you’ll need more storage space and will have to process the photos afterwards.
This doesn’t mean that using JPEG is a mistake in every situation. It can be perfectly suitable when you need to deliver images quickly or aren’t planning to carry out any major editing. Many cameras even allow you to save both RAW and JPEG files simultaneously. The important thing is to understand the differences and choose the format according to the requirements of each project.
Composition mistakes that can ruin a good photograph
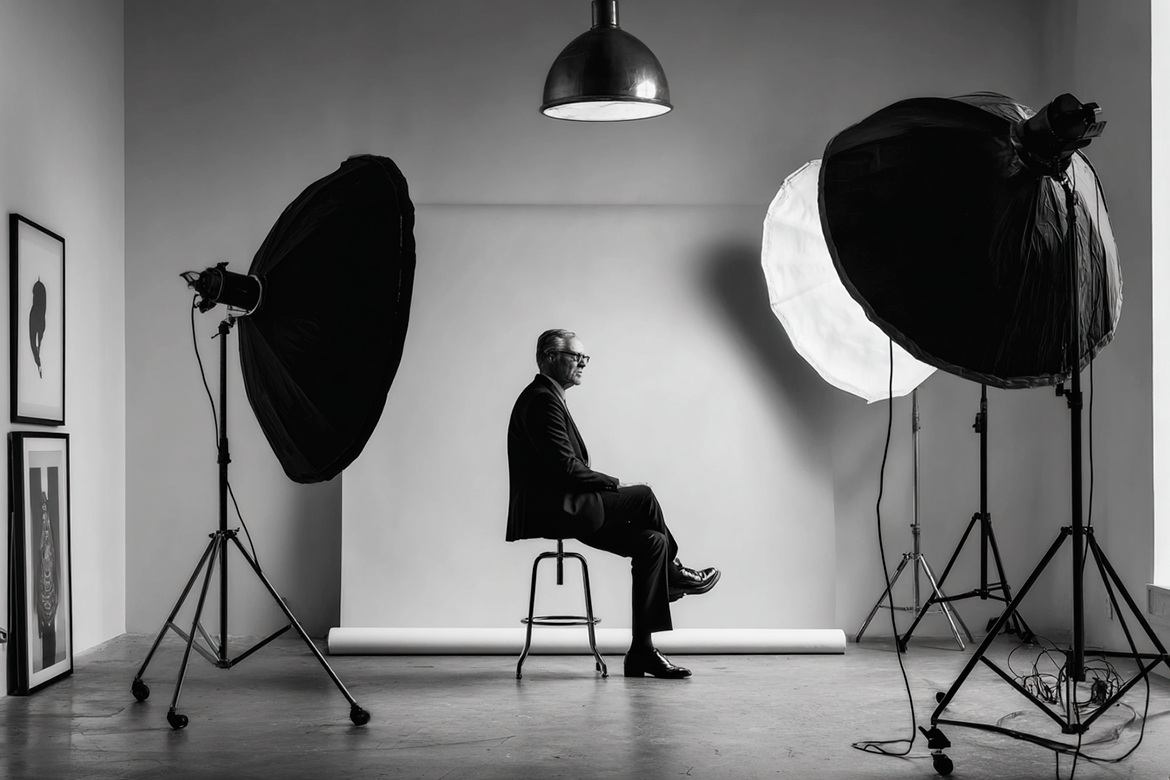
A photograph that is correctly focused and exposed isn’t necessarily a good image. Composition is the tool you use to arrange the elements within the frame and direct the viewer’s attention towards what you really want to show.
When you’re starting out, it’s useful to know some basic rules, such as the rule of thirds, leading lines, visual balance and the use of negative space. These aren’t rules you have to follow all the time, but rather tools you can use until you develop a more intuitive eye.
Before pressing the shutter button, get into the habit of scanning the entire frame with your eyes. Often, a small adjustment to your position can completely transform the photograph.
Always place the subject in the centre
When you start taking photographs, it’s very common to automatically place what you want to photograph right in the centre of the frame. Sometimes this composition works perfectly, especially when there’s symmetry or you’re aiming to convey stability.
The mistake lies in treating this position as the only possible option.
Try shifting the subject to one side, using, for example, the rule of thirds. If you’re taking a profile portrait or photographing a person in motion, you can also leave more space towards the direction they’re looking or heading.
Experiment with negative space too. A seemingly empty area can help to highlight the subject and convey a sense of tranquillity, isolation or spaciousness.
Before you take the shot, ask yourself where the main point of interest should be. Over time, you’ll stop applying the rules consciously and start arranging the elements in a much more intuitive way.
Not paying attention to the background
One of the most common mistakes in photography is focusing so much on the subject that you completely ignore what’s happening behind them.
A bin, a sign, a person partially in the frame or a line that seems to emerge from the subject’s head can become very striking elements when you review the photograph later.
So, before you take the shot, don’t just look at the main subject. Quickly scan the edges and the background of the frame. Often, you won’t need to change location: simply taking a few steps, adjusting the camera’s height or choosing a different focal length will suffice.
You can also control the prominence of the background using depth of field. Blurring it can help isolate the subject, although this isn’t always necessary. In documentary, travel or environmental photography, the surroundings can provide essential information. The key lies in consciously deciding what role you want them to play within the image.
Cutting out important elements from the image
When taking portraits or photographing people in motion, it’s quite common to realise afterwards that you’ve accidentally cropped out a hand, a foot or some other important part of the body.
Before taking the shot, check the edges of the frame and pay particular attention to joints. If you want to take a closer shot, try to make the cropping look intentional and help improve the composition.
It’s also a good idea to leave a bit of leeway when photographing fast-moving scenes. You can always adjust the frame slightly during editing, whereas recovering a part of the image that you haven’t captured is much more difficult.
This principle doesn’t apply solely to people. You may also accidentally crop out objects, buildings or elements that help the viewer understand the scene.
Don’t be afraid to use very tight frames when you have a clear intention. The difference between a crop that works and one that distracts often lies precisely in whether it looks like a conscious decision.
Not paying attention to the horizon and lines
A slightly sloping horizon may go unnoticed whilst you’re taking the photograph but can later become one of the most eye-catching elements, especially in landscapes featuring the sea or large horizontal surfaces.
To avoid this, you can activate your camera’s grid or electronic level. These tools are also very useful when photographing architecture and interiors and you need to control vertical lines.
But lines aren’t just for keeping an image balanced. They’re also one of the most interesting compositional tools. A road, a railing, a building or even a shadow can guide the viewer’s gaze towards the main subject.
Learn to observe the lines that appear naturally in the scene and decide how you want to use them. Sometimes you might even want to deliberately tilt the camera to convey a sense of dynamism. As with many rules of composition, the important thing is that it’s a deliberate choice, not an oversight.
Mistakes relating to photographic equipment
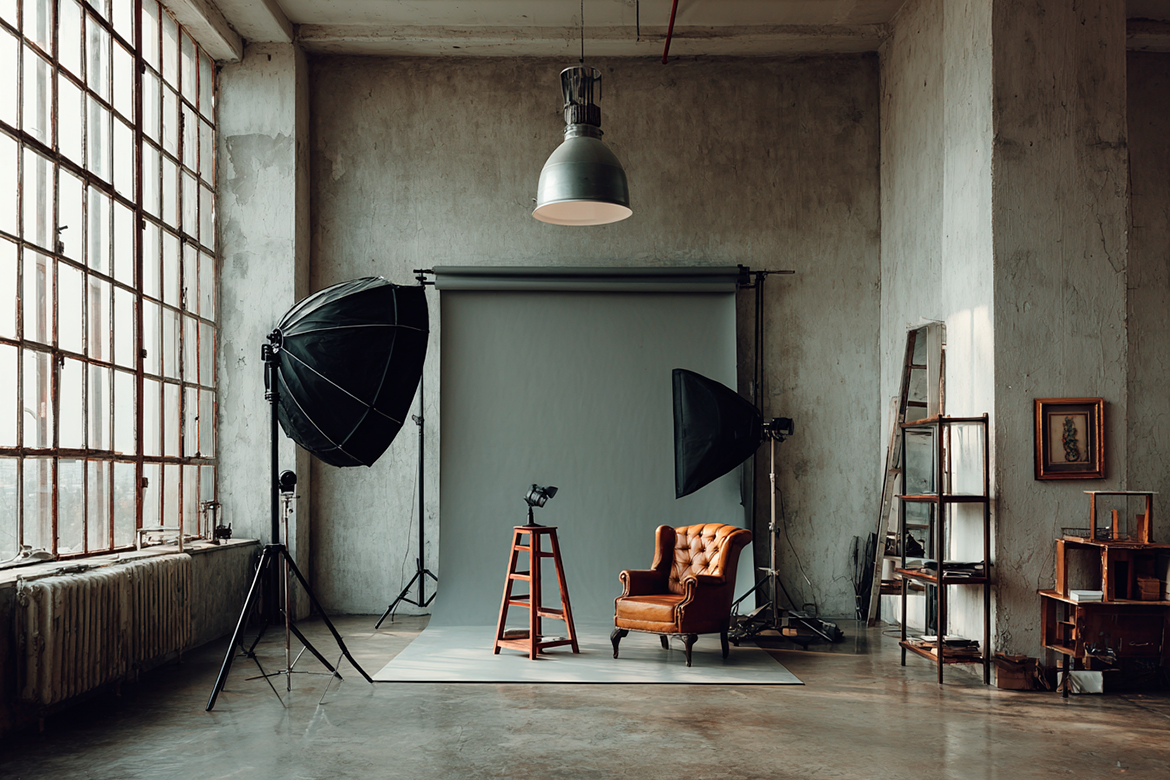
When you’re starting out in photography, it’s very easy to think there’s a direct link between the price of your kit and the quality of your images. Cameras, lenses and accessories are important tools and can make certain tasks easier, but they’re no substitute for knowledge or creativity.
Before constantly investing in new kit, try to discover what you can achieve with the equipment you already have. As you progress, you’ll be better able to identify your real needs and make much more informed purchases.
Thinking that a better camera will take better photographs
Seeing a professional’s photographs and realising they use a much more advanced camera might lead you to believe that this is the main difference between their images and yours.
A professional camera may offer better focus, a wider dynamic range, higher resolution or superior low-light performance. These are important advantages in certain situations, but the equipment doesn’t decide where to position the subject, what lighting to use or when the right moment is to take the shot.
Before replacing your camera, ask yourself what specific limitation is preventing you from taking certain photographs. Perhaps you need better low-light performance, a faster burst mode or specific video features. If you can identify that need, the investment will make much more sense.
In the meantime, keep working on your composition, lighting and technique. When the time comes to upgrade your kit, you’ll have enough knowledge to really make the most of the new possibilities it offers.
Advice from Carlos Reina: learn before investing in more kit
The experience of other professionals can help you put the importance of equipment into perspective during your early years. Carlos Reina, a photographer and videographer specialising in sports, commercial and event photography, insists that a more expensive camera is no substitute for learning and experience.
“Don’t think that spending a fortune on top-of-the-range kit will make you a better photographer.”
Carlos explains that using high-quality kit is important, but it isn’t everything: good photographs depend, above all, on the person behind the camera. His advice ties in perfectly with one of the ideas we’ve looked at previously: before investing large sums in equipment, learn to make the most of the kit you already have.
He also offers another piece of advice that’s particularly useful for those just starting out:
“Never use your camera’s automatic mode.”
His advice is to find out how your camera works, learn to use its various functions and, above all, practise as much as possible.
Buying too much kit whilst you’re still learning
Photography can quickly become a hobby full of accessories. After buying a camera, you’ll find yourself needing lenses, filters, flashes, tripods, camera bags, reflectors and many other items that seem essential.
However, accumulating kit doesn’t mean you’ll have more creative possibilities if you don’t yet know when to use each tool.
Start with a simple set-up and discover its limitations through practice. If you frequently take photos indoors and need more light, it might make sense to invest in a specific lens. If you start taking landscape photos with long exposures, a good tripod may become a priority.
You can also hire or borrow equipment before making a significant investment. This will allow you to check whether it really suits your way of working.
Let your photographic needs determine what kit you buy, rather than the other way round. That way, you’ll make the most of your budget and learn to get far more out of each piece of kit.
Not knowing your existing kit well enough
You might have a camera with dozens of advanced features and only be using a small fraction of its capabilities. So, before you think about buying a new model, take the time to get to know the one you already have properly.
Find out how its different focus modes work, learn to quickly adjust the ISO, aperture and shutter speed, configure the customisable buttons and discover what information you can display in the viewfinder.
You don’t need to memorise every option in the menu. The important thing is to master the functions you need most often.
This preparation is particularly important when you start shooting sessions with people or events that you can’t repeat. If you have to keep stopping to adjust a setting, you might miss expressions or once-in-a-lifetime moments.
The more you’ve automated your camera handling, the less attention you’ll need to pay to it. And that will allow you to concentrate on what really matters: observing the light, communicating with people and anticipating the moment you want to capture.
Learning mistakes that hold back your development as a photographer
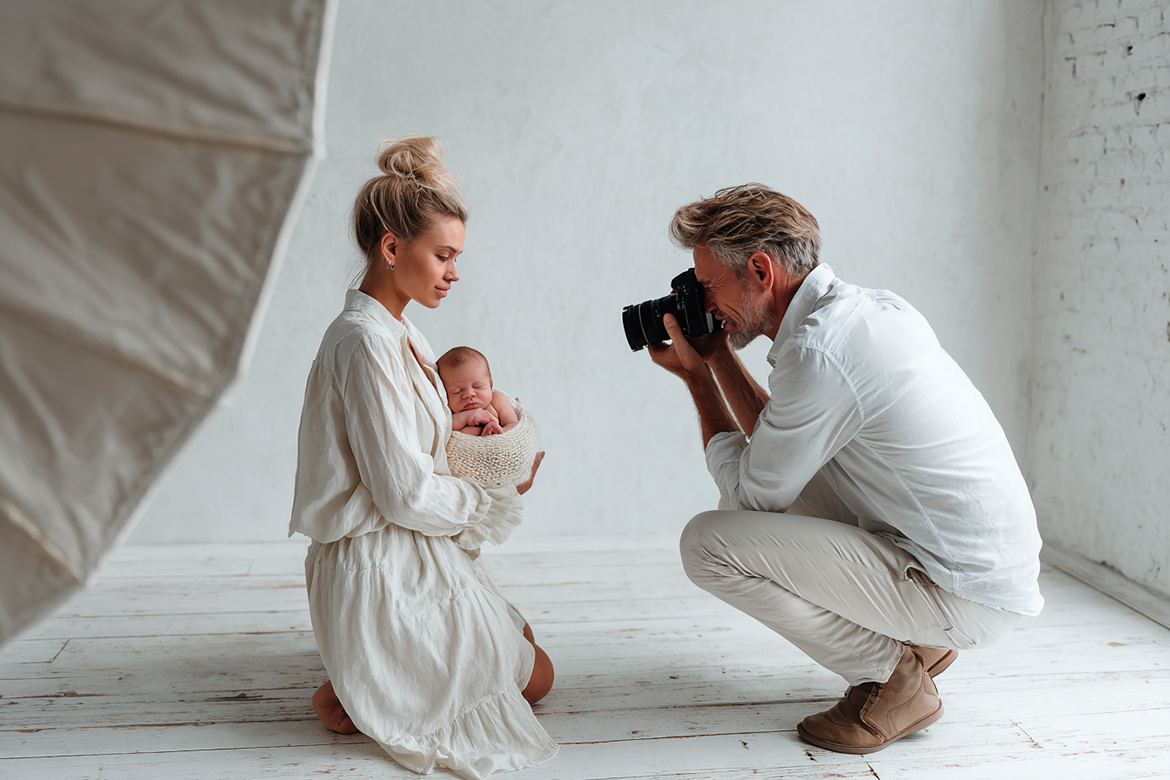
Improving as a photographer doesn’t just depend on the number of times you press the shutter button. The way you practise, analyse your results and seek out new knowledge has a huge influence on your development.
It’s important to combine practice with training, observation and experimentation. You must also learn to manage the frustration that can arise when your photographs don’t yet look like the images you have in mind.
These tips for beginner photographers will help you get much more out of every stage of your learning journey.
Not educating yourself and relying solely on practice
Practising is essential, but taking thousands of photographs doesn’t guarantee you’ll improve if you keep repeating exactly the same mistakes.
Training can help you understand why a particular problem occurs and give you the tools to solve it. Books, courses, workshops, videos, photography communities and specialist content can perfectly complement the experience you gain from using your camera.
Don’t try to learn everything at once. You could spend a few weeks getting to grips with exposure, then focus on composition, and later experiment with artificial lighting or editing.
A particularly useful strategy is to learn a concept and put it into practice straight away. If you’re studying shutter speed, for example, go out and photograph movement and see how different settings affect the result.
Combining theory, practice and analysis will make your learning much more deliberate and prevent certain mistakes from becoming habits that are difficult to correct.
Constantly comparing yourself to other photographers
Social media gives you daily access to the work of thousands of extraordinary photographers. This can be a fantastic source of inspiration, but it can also become a source of frustration.
When you compare your early photographs with the portfolio of someone who has been working for ten or twenty years, you’re comparing completely different stages. What’s more, online you usually only see a selection of their best images, not all the attempts that went into them.
Use the work of other professionals to learn. Observe how they light, compose or edit their shots, and analyse which elements particularly catch your eye.
But when you want to measure your progress, compare yourself primarily with your own past work. Look back at photographs you took six months or a year ago and analyse what you would do differently now.
Tracking your own development can be much more motivating and, above all, it will allow you to identify more clearly the areas in which you’re actually improving.
Not analysing your own photographs
After a shoot, it’s common to select the best images, quickly discard the ones that don’t work, and move on to the next job. However, the discarded photographs may contain some of the most useful lessons.
Ask yourself why an image didn’t work. Perhaps you used too slow a shutter speed, focused in the wrong place, chose an unattractive background or simply shot from a position that didn’t flatter the scene.
Do the same exercise with the photographs you do like. Analyse what that image has that the others don’t: the light, the moment, an expression, the composition or a combination of several factors.
It can also be helpful to review your work weeks or months later. With a bit of hindsight, it’s easier to assess it objectively.
Making this review a regular part of your process will ensure that every session is also a learning opportunity, rather than just a collection of new photographs.
Carlos Reina: learn from the opinions of other photographers too
Analysing your own images is essential, but there comes a point where you can become so accustomed to your own work that it becomes difficult to spot certain mistakes. Getting feedback from other photographers can offer you a different perspective.
Carlos Reina sums it up like this:
“Ask for feedback on your images.”
His advice is to listen to the views of your peers because you can almost always learn something from them. He also advises against falling into the trap of thinking your photographs can’t be improved any further.
This doesn’t mean you have to follow every piece of advice you receive. Learn to distinguish constructive criticism, listen to different points of view, and decide which ones can help you develop. Over time, you’ll also develop your own judgement for assessing both your images and the feedback you receive.
Being afraid to experiment and make mistakes
When you discover a setting that works, you may be tempted to repeat it constantly. The result will be more predictable, but you’ll also have fewer opportunities to discover new possibilities.
Experiment with different focal lengths, angles and lighting conditions. Take photos from the ground, get closer, leave space around the subject, use slow shutter speeds or try working with very strong shadows.
Not all of those photographs will work, and that’s precisely where part of the learning lies.
When you’re not working for a client, you can use those sessions to try out techniques without worrying too much about the end result. Afterwards, analyse what happened and decide which ideas are worth developing further.
Even once you’ve gained experience, it’s important to set aside time for experimentation. Photography is a creative discipline, and regularly stepping outside your own routines can help you discover new ways of working and, little by little, develop a much more personal style.
Don’t look for inspiration from other professionals
Looking at other photographers’ work can teach you a great deal if you do so actively. Instead of simply deciding whether you like an image, try to work out why it caught your eye.
Analyse where the light is coming from, how the elements have been arranged, which colours predominate, what depth of field has been used, or what effect the editing creates. This exercise will help you develop your visual literacy.
Furthermore, don’t limit your search for inspiration to your own specialism. If you’re a wedding photographer, you can find interesting ideas in documentary photography, fashion or film. If you specialise in product photography, architecture, painting or design can help you discover new ways of working with colour and composition.
Drawing inspiration doesn’t mean copying. Use these references as a starting point, experiment with them and adapt them to your own way of seeing. Over time, the combination of many different influences will help you develop your own style.
Carlos Felipe Ortiz: develop your skills without losing your own style
Seeking out role models can greatly speed up your learning, but it’s also important that these influences don’t end up limiting your creativity. Carlos Felipe Ortiz, a wedding photographer and Arcadina ambassador, offers some particularly interesting advice on this topic.
“Don’t limit your training to photographers who share your style.”
His recommendation is to discover other ways of understanding photography to broaden your knowledge and, drawing on all these influences, build your own identity.
That is precisely why he adds:
“Avoid imitating the photographers you look up to.”
Having role models is a good thing, but learning from them doesn’t mean copying their photographs or their way of working. Carlos also encourages photographers who are just starting out to stand out from the crowd:
“Be original and set yourself apart from trends.”
And he sums up much of this philosophy with another piece of advice worth bearing in mind:
“Don’t lose your creativity.”
Experimenting, trying out different techniques and maintaining the curiosity you had in your early years can help you develop without losing what makes your photography unique.
Maru Serra: find role models who help you evolve
Learning from other professionals doesn’t mean you have to follow exactly the same path as them. Maru Serra, a photographer specialising in boudoir, children’s and communion photography, recalls how important it was for her, right from the start, to have the guidance of a photographer she admired.
Her first piece of advice for those just starting out is very clear:
“Find a photographer to look up to and follow.”
As well as having a role model, Maru recommends broadening your sources of learning:
“Follow photographers who inspire you and learn from them.”
Training once again plays a key role in her recommendations:
“Without a solid foundation and training, it’s difficult to successfully launch a professional career.”
But learning photography also means facing situations you haven’t yet mastered. That’s why another of her recommendations is particularly interesting for a beginner photographer:
“Inspiration and personal growth will always lie outside your comfort zone.”
Trying new things, taking on challenging projects and continuing to learn even once you’ve gained experience can be an excellent way to avoid stagnation and keep evolving as a photographer.
Mistakes when editing your photographs
Mistakes when editing your photographs
Post-production is another part of the creative process. It allows you to adjust the exposure, work on the colour, enhance certain details and put the finishing touches to the final look of a photograph.
When you first discover the possibilities of an editing programme, it’s easy to overdo some adjustments. Learning to edit also requires practice and, above all, developing the judgement to know when a photograph is finished.
Over-editing your photographs
When you start editing, it’s easy to get carried away by the available controls. Significantly increasing saturation, applying too much contrast, overusing brightness or excessively smoothing skin may initially produce a striking effect, but it doesn’t necessarily improve the photograph.
Try to ensure that every adjustment serves a specific purpose. Before adjusting a slider, ask yourself what you want to correct or enhance.
It’s also very useful to step back from the image from time to time. After spending a long time editing, your eyes gradually get used to the changes and you may end up applying effects that are much more intense than you intended.
Compare the ‘before’ and ‘after’, zoom out to view the image as a whole and, if possible, review it again a few hours later.
There is no single ‘correct’ way to edit. You can aim for natural results or develop a very distinctive style. The important thing is that the editing reflects a creative decision rather than a need to use every available tool.
Failing to maintain a consistent style
Experimenting with different styles is particularly recommended when you’re learning. Trying out different colour treatments, contrasts or finishes will help you discover what sort of images best represent you.
However, when you start building a professional portfolio, it’s a good idea to aim for a certain consistency across the photographs you showcase.
This doesn’t mean they all have to be identical. A summer wedding and a family shoot in winter may require different approaches. But there should be a common thread that allows people to recognise your way of working.
Colour, lighting, contrast, the type of framing and the way you render skin tones can all help to build that identity.
Furthermore, a consistent style helps your future clients know what to expect when they hire you. If someone visits your website because they like the aesthetic of your photographs, it’s important that your portfolio as a whole reinforces that same impression.
Failing to make backups
A memory card can get damaged, a hard drive can stop working and a computer can suffer an unexpected breakdown. If all your photographs are stored in a single location, any of these situations could result in a significant loss.
That’s why it’s advisable to set up a backup system right from the start of your photography journey.
Keep several copies of your important files and ensure that at least one of them is stored in a different location. You can combine physical discs with online storage solutions depending on the volume of images you handle.
When you start working professionally, also establish a clear procedure from the end of the session right through to the delivery of the photos. Don’t delete the memory cards too soon and check that the files have been copied correctly.
Losing your personal photographs can be frustrating. Losing images from a wedding, an event or a shoot commissioned by a client can become a much more serious problem for your business and your reputation.
Mistakes to avoid if you want to make photography your career

When you start charging for your photographs, a significant part of your work changes. You are no longer solely responsible for creating good images: you must also provide a service, meet deadlines, manage information and ensure your business is financially sustainable.
Many photographers learn these aspects through trial and error because, during their training, they have focused almost exclusively on the creative side.
Organising your business properly from the outset can save you a lot of trouble as the number of clients and sessions increases.
Failing to define what type of photography you want to offer
When you’re starting out professionally, it’s common to accept practically any job that comes your way. Photographing different genres can be a good way to gain experience and discover which ones really interest you.
However, over time, it’s a good idea to define which services you want to specialise in and what sort of client you want to attract.
Specialising can help you develop much more specific expertise, build a coherent portfolio and communicate more clearly what you have to offer. A client looking for a newborn photographer, for example, will probably appreciate finding a website where they can quickly see that you have experience in this type of session.
You don’t necessarily have to choose just one specialism. You can work in weddings and family photography, or combine corporate, product and food photography.
The important thing is that there’s a strategy behind the services you offer. The clearer you are about who you want to target, the easier it will be to tailor your portfolio, communication, pricing and client experience.
Don’t create a portfolio with just your best photographs
When putting together your first portfolio, you might feel you need to include lots of photos to demonstrate your experience. However, including too many images can have the opposite effect and cause your best work to get lost in the mix.
Select only those photographs that truly represent the standard and style for which you want to be hired.
If you specialise in several areas, create separate galleries. That way, a couple interested in a wedding can go straight to that section without having to scroll through product photography, first communions or corporate events.
It’s also important to review your portfolio regularly. As your skills improve, some images that you initially considered outstanding will no longer reflect your current standard.
Your portfolio shouldn’t be a historical archive of everything you’ve ever done. It’s a marketing tool that helps your future clients decide whether your style matches what they’re looking for. That’s why, in many cases, a small, carefully curated selection will prove far more effective.
Not having a professional website
Social media can help you showcase your photographs, build a community and reach new clients, but relying solely on it means building your digital presence on platforms you do not control.
A professional website allows you to present your work in a much more organised way. You can create portfolios by specialism, explain what your photo sessions are like, showcase client testimonials, tell people who you are, and provide different ways for them to get in touch.
What’s more, a well-designed website can help you appear on Google when someone searches for a photographer specialising in your field in your area – something that’s particularly important for businesses that rely on local clients.
Your website shouldn’t just be a pretty gallery either. Think of it as the hub of your online business. Someone who discovers one of your photographs on social media might then visit your website, find out about your services, get answers to their questions and finally get in touch with you or book a session.
Setting prices without properly calculating your costs
One of the trickiest moments when you start working professionally is deciding how much to charge. Looking at other photographers’ rates can give you a sense of the market, but it shouldn’t be the only factor.
There are many costs behind a photo shoot that the client doesn’t see. You shouldn’t just count the time spent taking the photographs. There are also meetings, travel, image selection, editing, delivery, equipment, insurance, software, storage, marketing, taxes and many other tasks necessary to run the business.
Work out how much actual time you spend on each service and what your fixed and variable costs are. Then work out what profit margin you need to make your business profitable.
Offering prices that are too low to attract your first clients may seem like a simple strategy, but it can lead to you working long hours without making a profit. Building a sustainable business means learning to value both your time and your work correctly.
Working without a quote or contract
When your first clients are people you know or come via recommendations, it may seem unnecessary to formalise the relationship too much. You discuss the price over the phone or via WhatsApp, agree on a date, and the work begins.
The problem arises when doubts emerge about what was included, when a payment was due, what happens if the date changes, or which products were agreed upon.
A quote allows you to clearly set out the services, quantities, prices and any additional options. A contract, meanwhile, helps to establish the terms and conditions that will govern the work once it has been accepted.
As well as offering greater security for both parties, using these documents conveys professionalism. The client knows exactly what they’re hiring, and you have a clear record of what’s been agreed.
Incorporating quotes and contracts from the very start of your professional career may initially seem like extra administrative work, but it will ultimately save you from unnecessary discussions, uncertainties and potential disputes.
Managing bookings and clients on the fly
When you have only a few sessions, it’s relatively easy to remember who has booked, what day their appointment is on, or how much money is still outstanding. But as your workload grows, relying on your memory and scattered conversations starts to cause problems.
You may end up searching for information amongst WhatsApp messages, emails, notes and different calendars. As well as wasting your time, this increases the risk of forgetting an appointment, a payment or an important task.
Setting up a system from the outset will help you grow in a much more organised way. Centralise your client information, use an up-to-date calendar and define the steps each job must follow, from booking to delivery.
Online bookings can also simplify part of the process by allowing your clients to check available slots and choose an appointment.
Organisation may not be the most creative part of photography, but having clear processes in place will allow you to devote far more time to precisely what interests you most: taking photographs.
Neglecting the experience you offer your clients
Someone might initially hire you because they like your photographs, but the experience they have throughout the entire process will hugely influence their final opinion of your work.
Think about all the points of contact: how quickly you reply, how easy it is to find out about your services, the booking process, the preparation beforehand, the shoot itself, payments, selecting the photographs and the final delivery.
Try to eliminate unnecessary steps and provide clear information at every stage. If the client knows what they need to do and what will happen next, they’ll feel much more supported.
The way you deliver the images is also part of that experience. A well-presented private gallery looks far more professional than sending numerous files in a disorganised manner.
Paying attention to these details can help you stand out, even in markets where there are many photographers with a high technical standard. And a positive experience increases your chances of securing new bookings, recommendations and clients who will continue to place their trust in you.
Learn from these mistakes and keep growing as a photographer
Making mistakes when you’re learning photography is inevitable and, in many cases, necessary. Every out-of-focus image, every composition that doesn’t quite work, or every shoot that you could have organised better contains information you can use the next time around.
The key lies in adopting a mindset of constant learning. Learn to master your camera, observe how the light changes, pay attention to backgrounds and compositions, experiment with new techniques, and take the time to review your results. With practice, many decisions that now require concentration will eventually become second nature.
And if at any point you decide to turn photography into your profession, you’ll need to extend that approach to learning to business management. Taking good photographs will remain essential, but you’ll also need to showcase your work, attract clients, organise bookings, set prices, prepare quotes and contracts, manage payments and deliver your photo reports in a professional manner.
With Arcadina, you can centralise most of these processes in one place and manage your photography business in a more organised way – from your website and galleries to bookings, quotes, contracts, sales and invoicing.
What mistake did you make when you first started out in photography, and what did you learn from it? Tell us about your experience in the comments; it might help other photographers who are just taking their first steps.
Arcadina goes with you
Fulfil your dreams and develop your career with us. We offer you to try our web service free for 30 days. And with no commitment of permanence.
Arcadina is much more than a website, it is business solutions for photographers.
If you have any queries, our Customer Service Team is always ready to help you 24 hours a day, 7 days a week. We listen to you.
Free trial · No card · No lock-in
Build your photography business online
Sales with no commission · Everything in one plan · 30-day free trial, no card